
In this blog, I will cover the steps to attach Block Volume to an existing LVM on OCI compute instance.
Pre-requisites:
1. OCI tenancy access
2. OCI VCN
3. OCI Compute Instance
Steps..
1. Create a block volume
a) Go to Storage --> block volumes

b) Click create block volume and enter the volume name and other information and click create.

2. Attach volume to compute instance.
a) Once volume created, go to compute instance --> resources --> Attach block volumes

b) Click on attach block volume and select the volume created in Step1 and keep other info default, click attach.

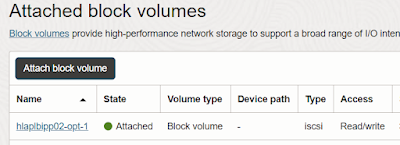
Now you will see block volume attached to the Instance.
3. Mount the Block volume to LVM on compute instance.
a) First click on 3 dots on attached block volume --> iSCSI commands & information

b) Copy the iSCSI connect commands

c) Login/SSH to the compute instance and run those iSCSI commands. After running command run the lsblk to see the new partition.

d) Create physical volume (PV)

e) Create a volume group (VG)

f) Create logical volume using 100% space from volume group

g) Create xfs filesystem on the volume

h) Create mount point and mount the filesystem to that mount point.
mkdir /opt
mount <LV path> <Mount point>
In my case the LV path is /dev/mapper/VolGroup01-LogVol00
mount /dev/mapper/VolGroup01-LogVol00 /opt

i) Configure the LV to be automatically mounted on startup
run blkid command and copy the UUID of LV
vi /etc/fstab and add this line if its not there. use the UUID from above command
j) verify the automatic mounting feature.
mount -a
and now run df -h

Reboot VM to make sure everything is setup correctly.


No comments:
Post a Comment